

Last Updated on August 17, 2026
Are you tired of dealing with dirty, worn-out car floors? Installing WeatherTech floor mats can be the perfect solution to protect your vehicle and keep it looking new.
But how do you get these mats in place quickly and correctly? This guide will walk you through every simple step, so you can enjoy a cleaner, more comfortable ride without any hassle. Keep reading, and you’ll have your WeatherTech mats installed like a pro in no time!
Preparing Your Vehicle
Installing Weathertech floor mats starts with preparing your vehicle properly. Taking a little time here ensures a perfect fit and longer mat life.
Focus on clearing and cleaning the floor area before placing the new mats. This step helps keep your car tidy and protects the vehicle’s interior.
Remove Existing Floor Mats
Take out any old or factory floor mats from your vehicle. Removing them prevents interference with the new mats and allows for a clean surface.
- Pull the mats straight up from the floor.
- Check if mats are secured by clips or fasteners.
- Unclip or unfasten carefully to avoid damage.
- Remove mats from both front and rear seating areas.
Clean The Floor Area
Clean the car floor before placing the new mats. Dirt and debris can cause uneven mat placement and wear.
| Cleaning Tool | Purpose |
| Vacuum Cleaner | Remove dust and small debris |
| Brush | Loosen stubborn dirt |
| Cloth | Wipe down surfaces |
| Cleaning Spray | Remove stains and sticky spots |

Credit: www.youtube.com
Unpacking Weathertech Mats
Unpacking your Weathertech floor mats is the first step toward protecting your vehicle’s interior. These mats come carefully packaged to keep their shape and quality.
Take your time to unpack and check each mat. This helps ensure you install them correctly and enjoy a perfect fit.
Identify Front And Rear Mats
Weathertech mats are designed to fit specific areas of your vehicle. Front mats usually have a more complex shape to fit around pedals and seats. Rear mats are typically smaller and rectangular or square.
- Look for labels or markings on each mat.
- Front mats may have cutouts or raised edges for pedals.
- Rear mats are often simpler in design and size.
- Match the mats to the shape of your car’s floor space.
Check For Custom Fit Features
Weathertech mats include special features that ensure they fit your vehicle perfectly. Checking these features helps you place the mats correctly.
| Feature | Description |
| Retention Hooks | Secure mats to the floor to prevent slipping. |
| Raised Edges | Contain dirt, water, and debris inside the mat. |
| Custom Molded Shape | Fits the exact contours of your vehicle’s floor. |
| Driver Side Cutout | Allows space for pedals and footrest. |
Placing The Mats Correctly
Installing Weathertech floor mats properly helps protect your car’s interior. Correct placement keeps the mats from sliding and covers the floor well.
Follow simple steps to place the mats so they fit snugly and stay secure during use.
Align Mats With Floor Contours
Each Weathertech mat is designed to match your car’s floor shape. Align the mat edges with the floor’s curves and bumps. This ensures full coverage and a clean fit.
- Place the mat flat on the floor without folding it.
- Check that the mat lines up with door sills and footwells.
- Adjust the mat so it sits flush against the floor surface.
- Make sure no part of the mat blocks pedals or foot controls.
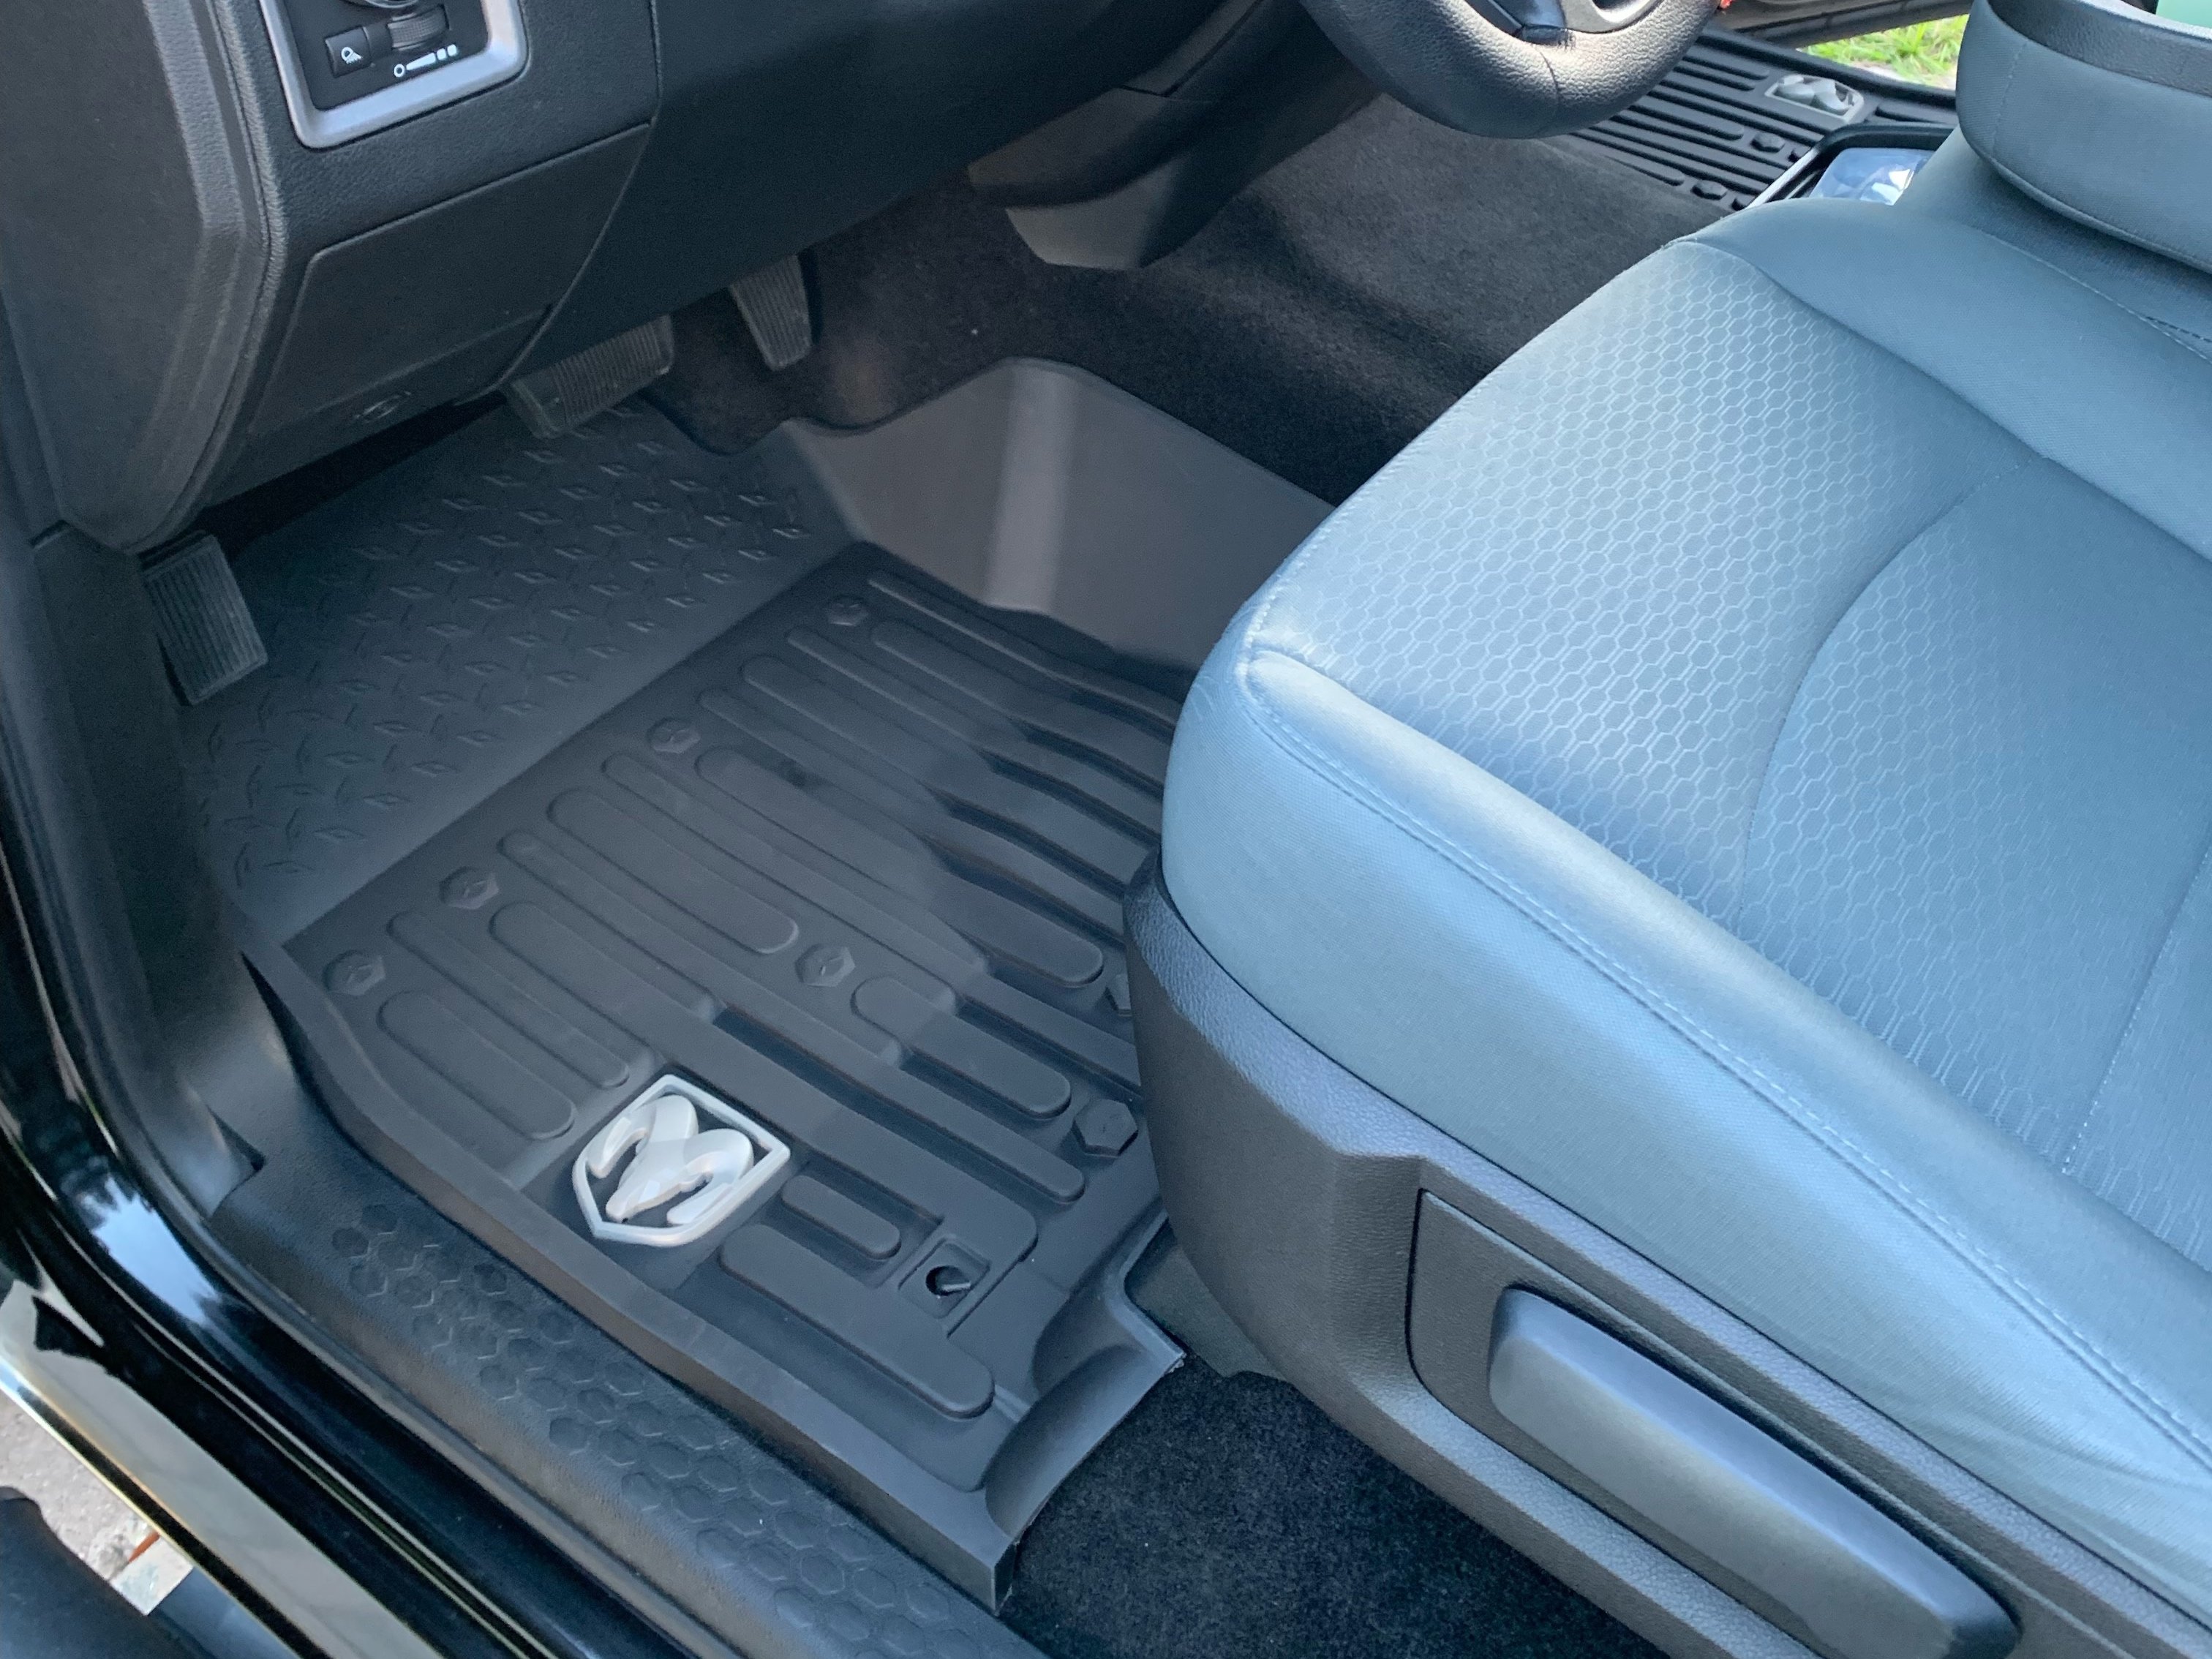
Secure Mats With Retention Systems
Most Weathertech mats come with retention clips or hooks. Use these to fix the mats in place and stop slipping during driving.
| Retention Type | How to Use |
| Clips | Snap clips into floor anchors to hold mat firmly. |
| Hooks | Attach hooks to car’s floor loops or holes. |
| Velcro | Press Velcro strips under mat for extra grip. |
Credit: www.americantrucks.com
Final Adjustments And Tips
After placing your Weathertech floor mats, it is important to make final adjustments. These help ensure safety and comfort. Follow simple tips to keep your mats in good shape.
Proper fitting of the mats prevents accidents and extends their life. Take time to check their position and clean them regularly.
Ensure No Obstruction To Pedals
Check that the floor mats do not block the gas, brake, or clutch pedals. Obstructions can cause dangerous driving situations. Make sure the mats lay flat and stay in place.
Use the retention clips or anchors if your mats have them. These keep mats from sliding forward. Test pedal movement after installation to confirm safety.
- Place mats flat on the floor without folds
- Secure mats with clips or anchors
- Push pedals fully to ensure no blockage
- Adjust mats if they move when you drive
Regular Maintenance Advice
Clean your Weathertech mats often to keep them effective. Dirt and debris can wear down the material. Use a vacuum or hose to remove dirt.
Check mats for damage like tears or worn spots. Replace mats if they become unsafe. Proper care helps mats last longer and stay looking good.
- Vacuum mats weekly to remove loose dirt
- Wash mats with mild soap and water
- Let mats dry completely before reinstalling
- Inspect mats monthly for damage
- Replace mats if they do not lay flat
Credit: www.cx50forums.com
Frequently Asked Questions
How Do I Prepare My Car For Weathertech Floor Mats?
Clean the car floor well and remove old mats before placing new Weathertech mats.
Can Weathertech Mats Fit All Car Models?
Weathertech mats are custom-made for specific models for a perfect fit and coverage.
How Do I Secure Weathertech Floor Mats In My Car?
Use the clips or anchors provided with the mats to keep them firmly in place.
How Often Should I Clean Weathertech Floor Mats?
Clean the mats regularly by shaking, vacuuming, or washing with water and mild soap.
Will Weathertech Mats Protect Against Dirt And Spills?
Yes, these mats have deep grooves designed to trap dirt, water, and spills effectively.
Conclusion
Installing Weathertech floor mats is simple and quick. Follow each step carefully for a perfect fit. These mats protect your car’s interior from dirt and spills. They are easy to clean and last long. Take your time to adjust them properly.
Enjoy a cleaner, safer driving experience every day. Protect your car with quality floor mats today.